

And then it looked like this.
And then this.
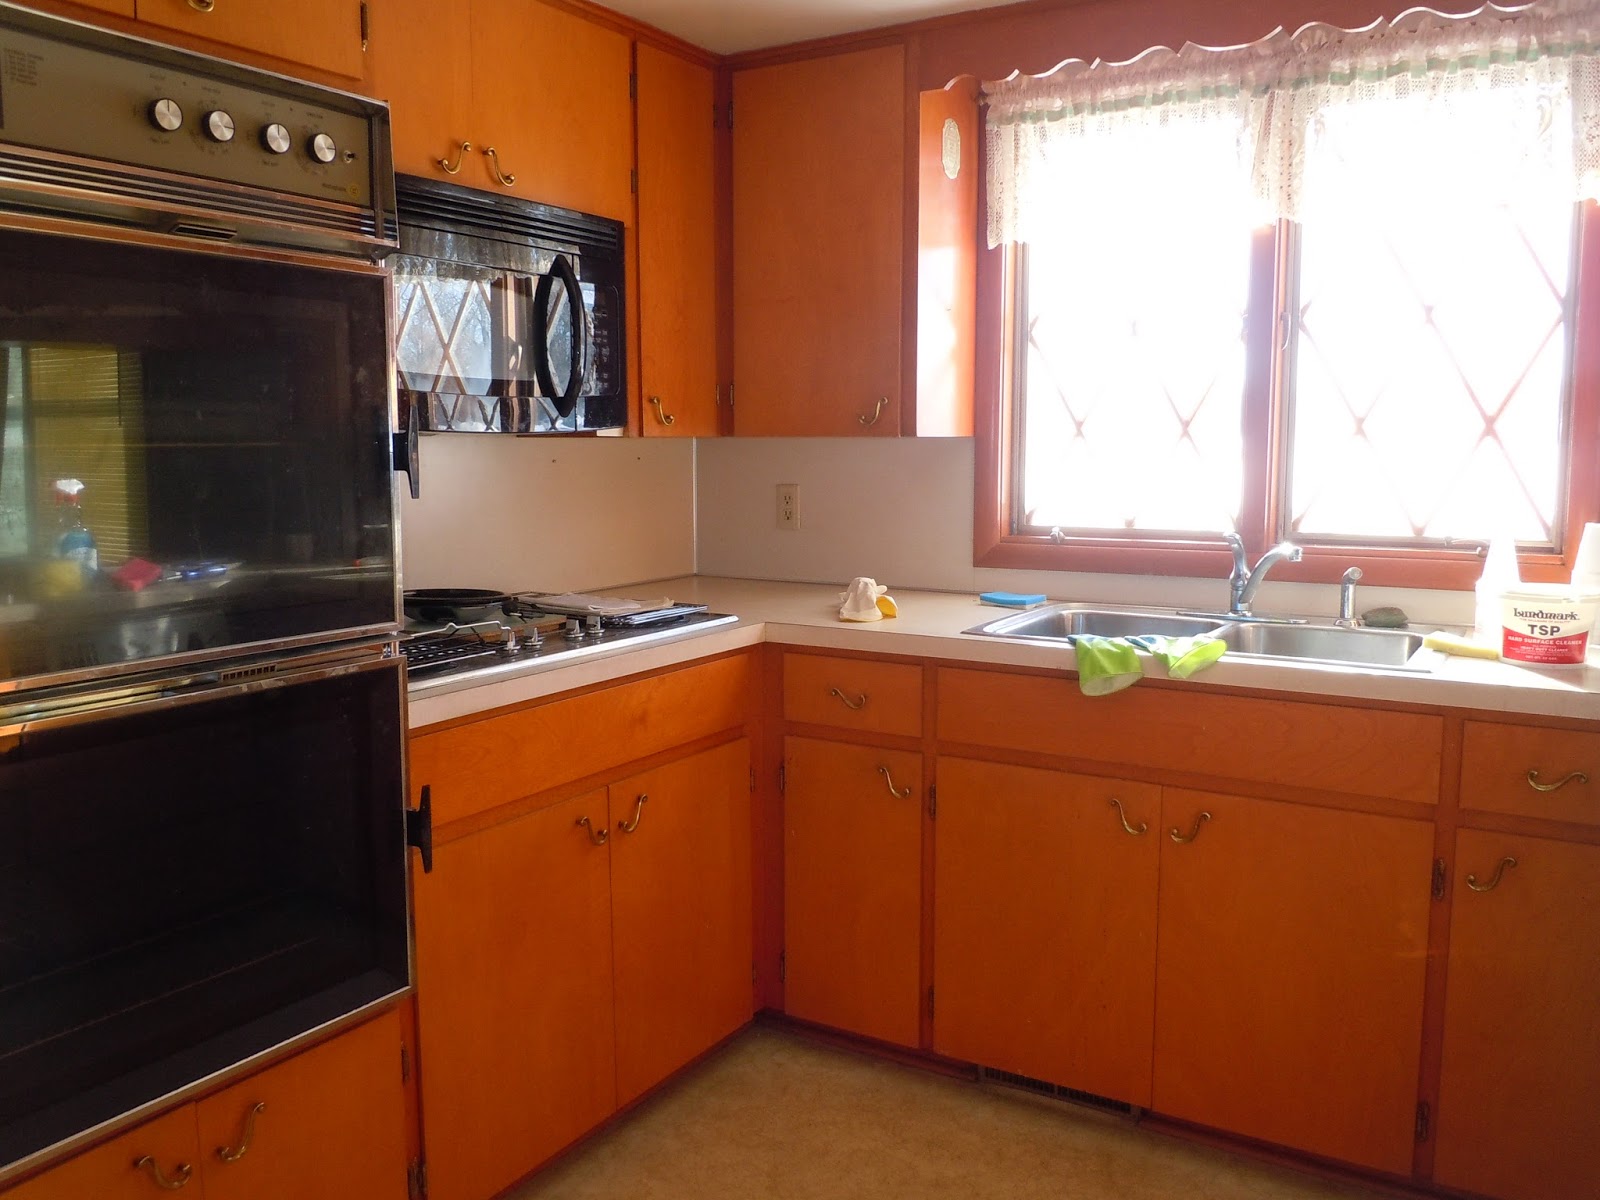
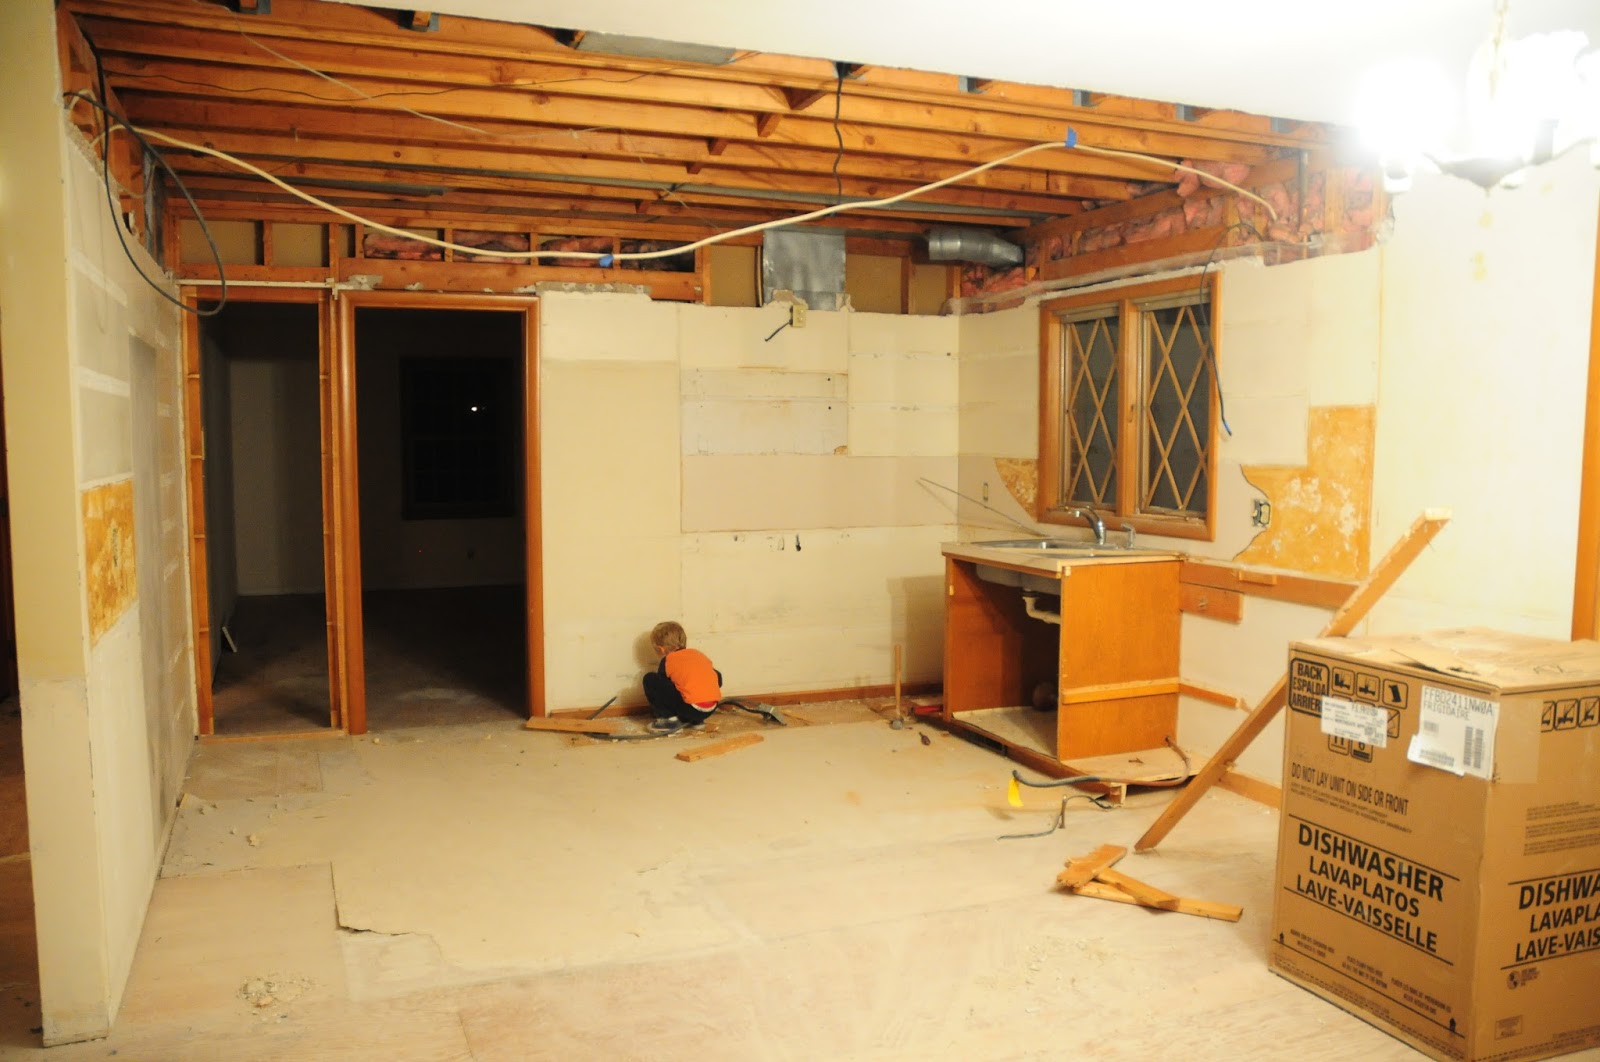
We had a very pathetic kitchen for a little while. Yes, we had a utility sink in the kitchen.

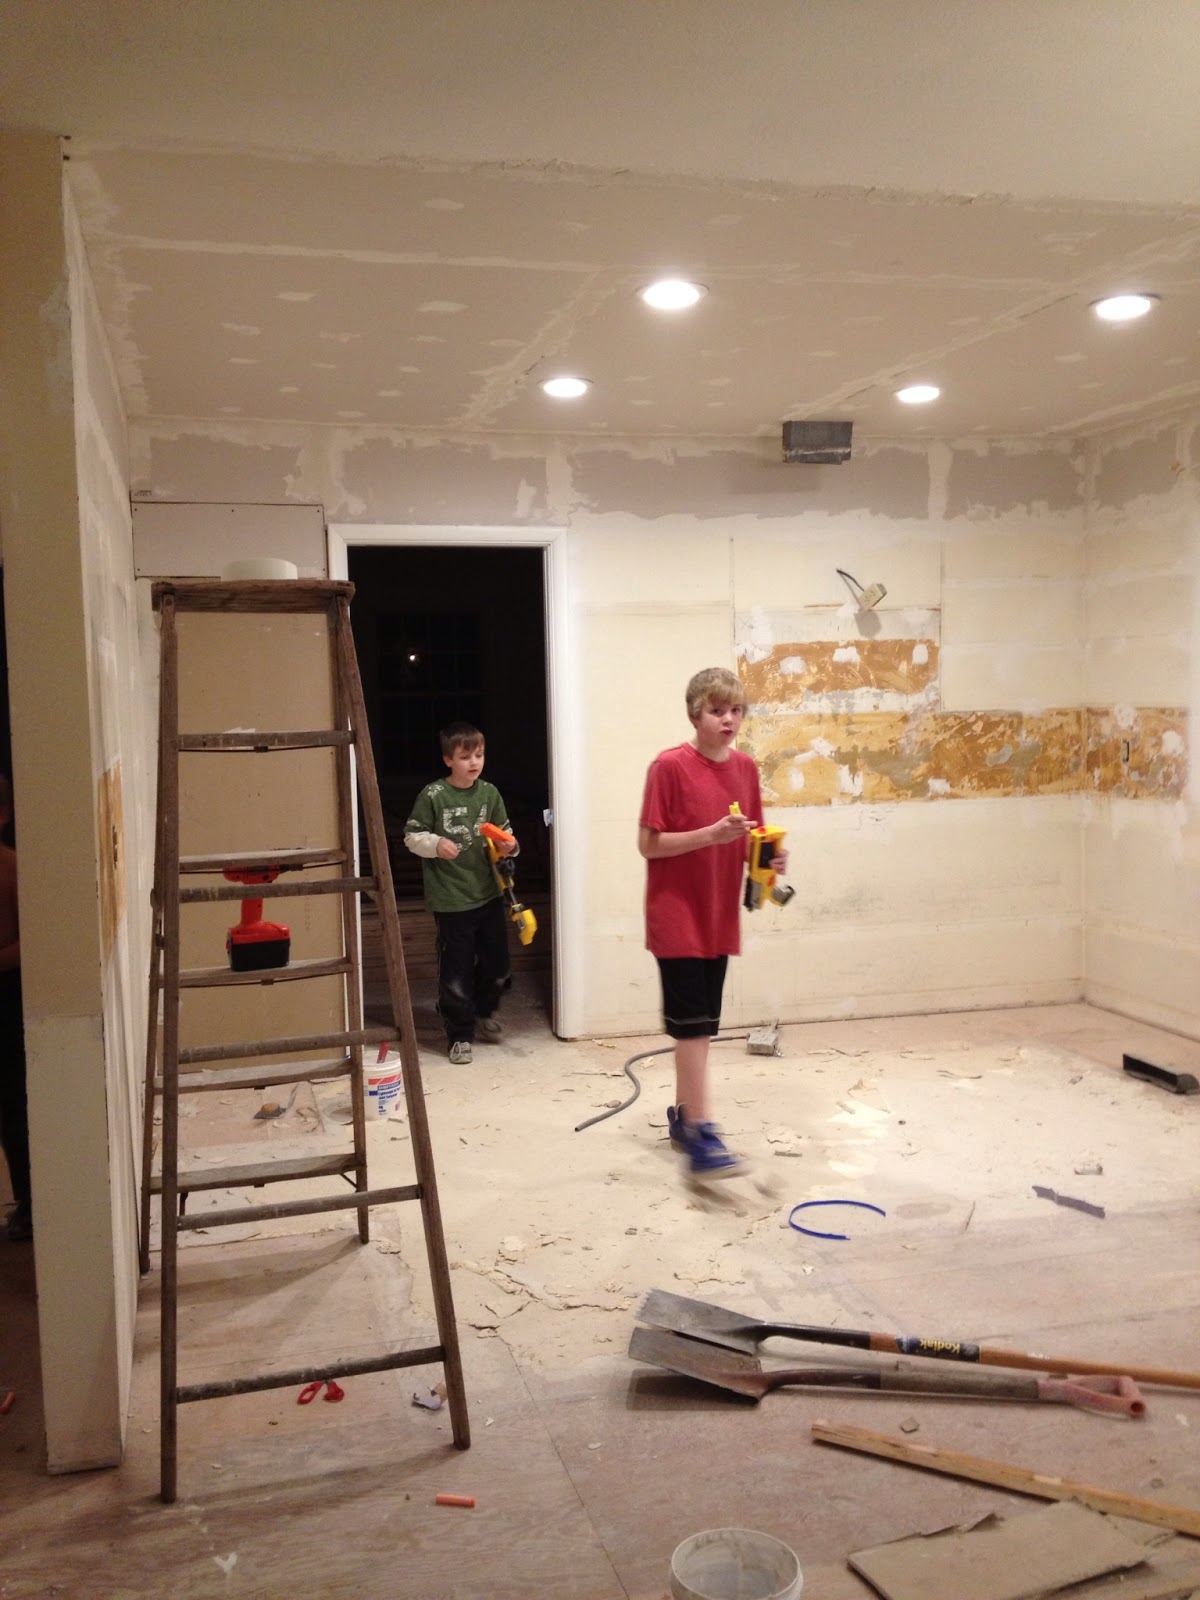
Then we got (some) cabinets!

Until I could replace it with this beauty.

For the walls and backsplash of our kitchen I had always planned to do beadboard panels. That is, until I came across this blog post from The House of Smiths. I totally fell in love with the look and the affordability of this idea. Plus, I knew I could tackle it by myself!
So I went to my local Lowes and purchased 1/4 inch utility grade plywood. I think it was around $13 for a 4x8 foot piece. I bought 4 panels and there was a very kind man there that cut each panel into 6 inch strips lengthwise. (And he didn't even charge me for it!). I also got some liquid nails to use for installing the planks.
So, I started with one wall at the top and made sure everything was level. I used the liquid nails and a brad nailer. The plywood is a very peculiar color but I new I would be painting them anyway. The walls were all torn up from ripping down the laminate backsplash. But they had a coat of white paint over the top. I used two nickels to space out the planks and wanted to make sure the cracks were white also.


One coat of semi-gloss paint up.

I even purchased one more 4x8 sheet so I had enough to carry the planks into the adjoining dining room.

Here is a semi-completed photo where I had already started on my next project!

Some people call this shiplap but that is not really correct. Shiplap actually has a rabbet on each end that creates an overlap on the next board. But this is definitely a "shiplap look" and one that I am loving!
Thanks for stopping by!
No comments:
Post a Comment